
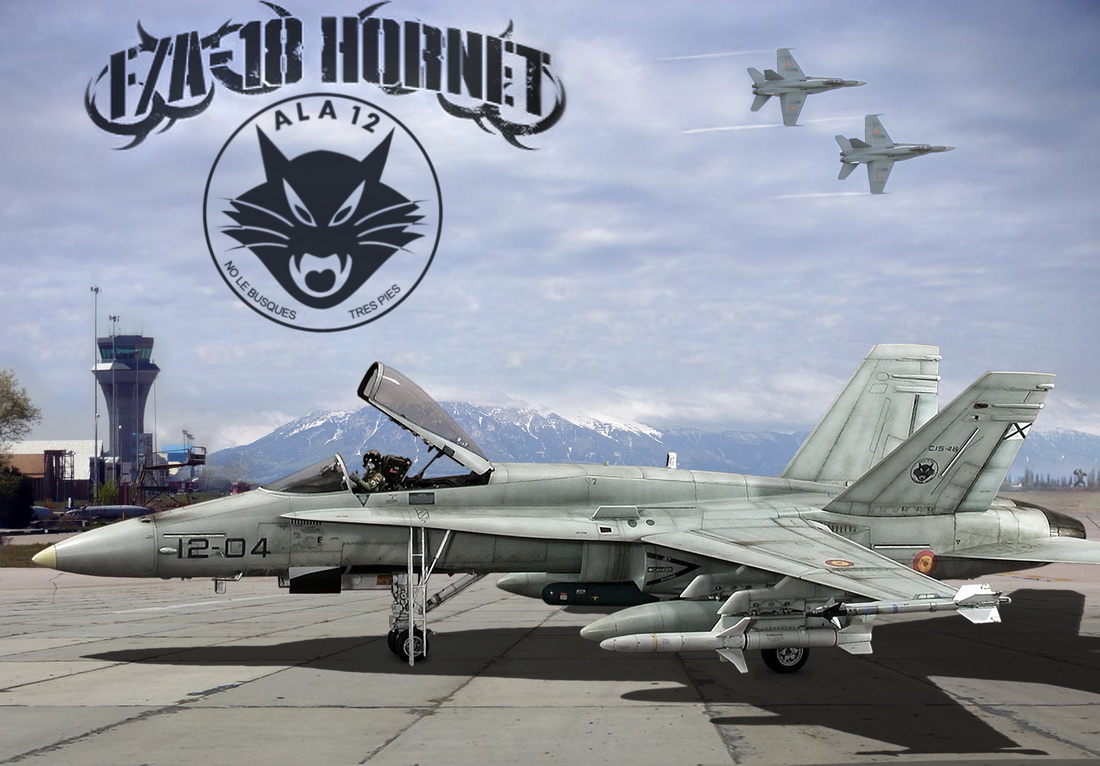
After making the "Spanish Adversary" with a former Top Gun´s F-18 in Spanish markings, I have had the feeling of being in the obligation to build a Hornet in the standard Spanish scheme. Of course the grey camo is not as eye-catching as the Navy´s adversary colors but with some weathering it looks really nice.
And here it is, I´m not a Lannister but I also pay my debts. Usually.
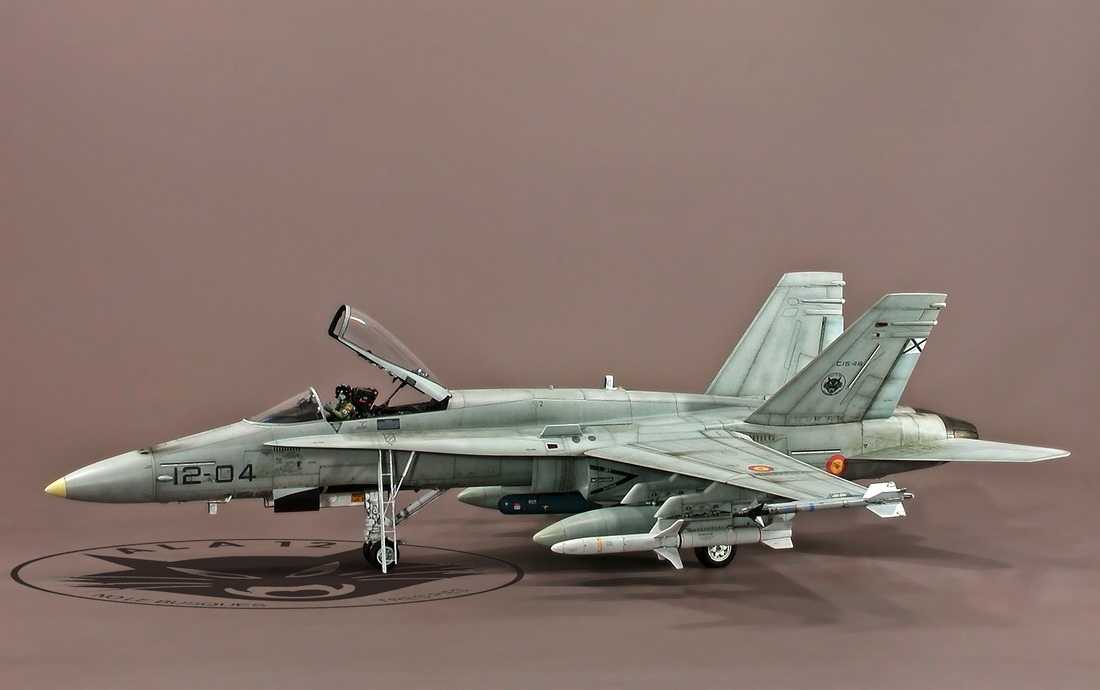
Apart from Hasegawa´s kit I also used the cockpit from Aires, the seamless air intakes from Rhino, Eduard´s AIM-9L Sidewinders and the "Export Bugs" decal sheet from F4Dable Models.
I used Tamiya acrylics and Gunze´s Hobby colors to paint the aircraft. The weathering is done mainly with Ammo products except some effects in the flaps made with a graphite pencil.
Hope you like it.
Diego Quijano.


And here it is, I´m not a Lannister but I also pay my debts. Usually.
Apart from Hasegawa´s kit I also used the cockpit from Aires, the seamless air intakes from Rhino, Eduard´s AIM-9L Sidewinders and the "Export Bugs" decal sheet from F4Dable Models.
I used Tamiya acrylics and Gunze´s Hobby colors to paint the aircraft. The weathering is done mainly with Ammo products except some effects in the flaps made with a graphite pencil.
Hope you like it.
Diego Quijano.
amazing work in all aspects of modelling
ReplyDeleteThe grey camo is state of art
Thanks a lot Kyriakos. Glad you like it.
DeleteQ
Hello Diego,
ReplyDeletesimply awesome, breathtaking!
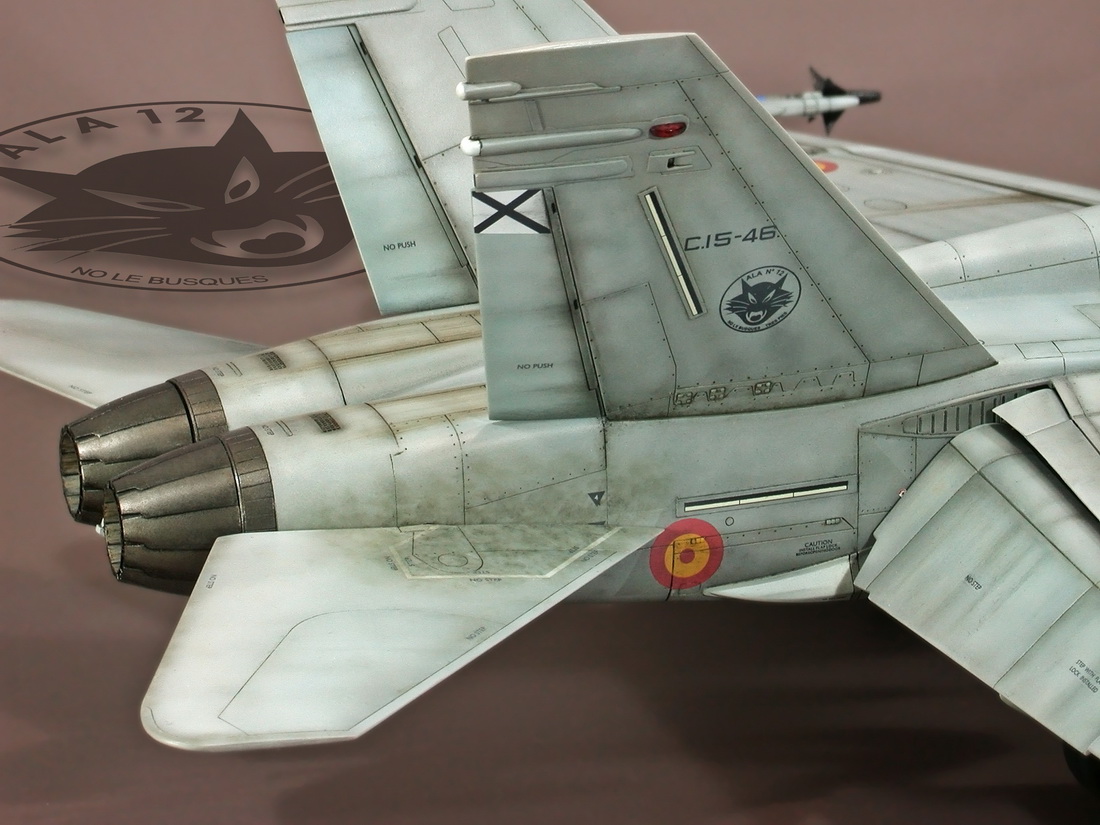
How did you achieve the very realistic metal effect on the exhaust nozzles? The surface looks even and shiny, but seems to be "stippled". Would you please share your technique with me?
Thanks, Bernd
Hi Bernd,
DeleteThanks a lot for your words.
The weathering of the exhaust nozzles is done with "Engine Grime" from AMMO of Mig Jimenez enamel products. Is really easy, first you paint some spots with the product and then you rub with a dry and clean brush untill you blend the spots at your liking.
Hope it helps.
Q
Hi Diego,
ReplyDeletethank you very much for the hints! I'll give "Engine Grime" a try!
Bernd
Que maravilla Diego!!! Me ha encantado esa luz que le has dado y los efectos de suciedad, uuufff, Impresionante trabajo!!!
ReplyDeleteGracias Toni, Me alegro de que te hayan gustado los efectos de pintura y suciedad.
DeleteUn saludo
Q
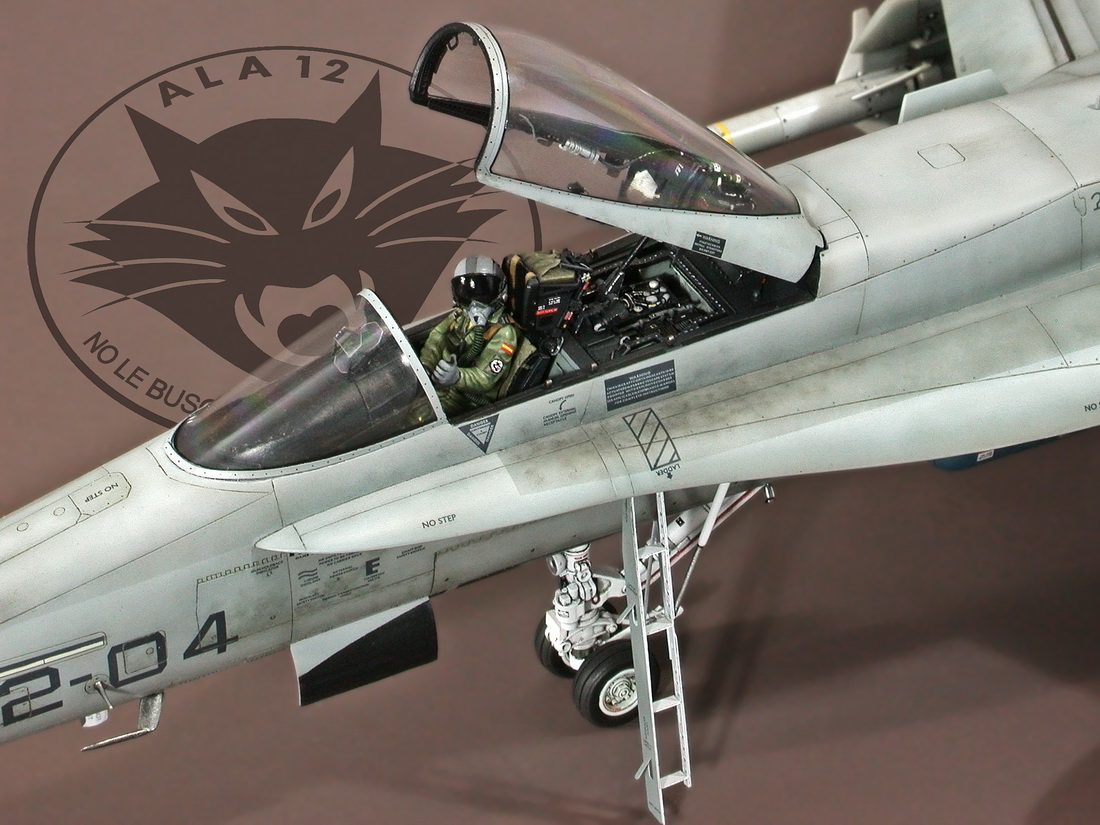
the simple addition of the pilot figure makes it even better.
ReplyDeleteGreat build again. keep them coming ;)
Thanks Stefaan. I´m not very used to add figures but I also think that looks better with the pilot.
DeleteThanks for your words.
Q
Wow. Another beauty. I am always very impressed by your builds. I have tons of questions, but may I ask the ones I am most interested in?
ReplyDelete- How did you paint the pilot's vizor?
- Did you rescribe the entire model?
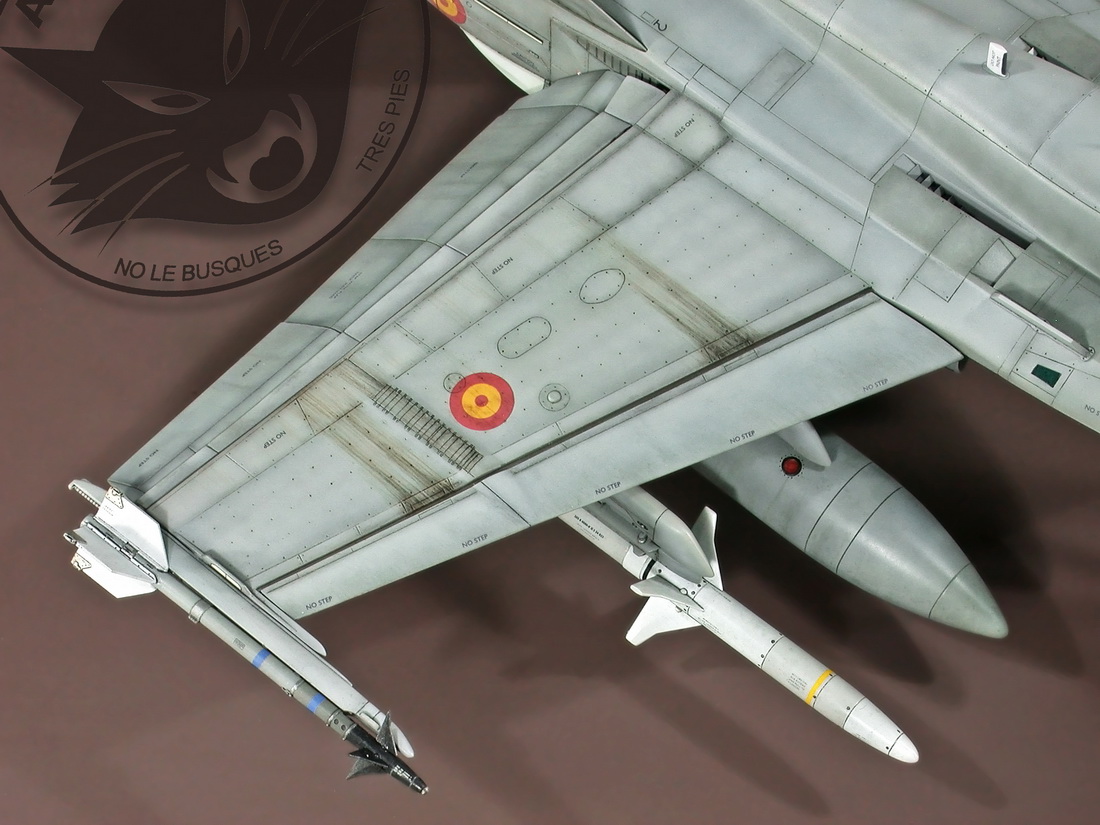
- How did you do the leaks and grime on the fuel tanks? Also, how did you do the grime (splotchy look) on the HARM missile?
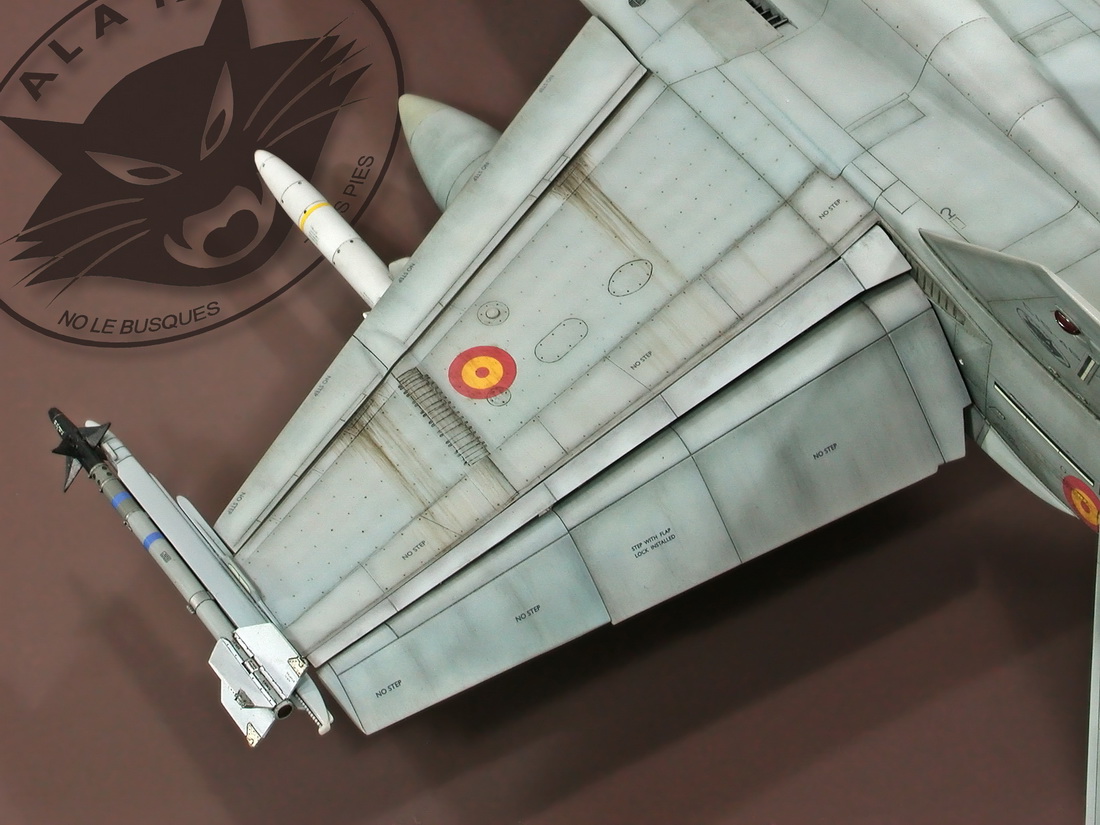
- How did you do the major oil leaks on the front of the wings?
- Can you elaborate on the exhaust nozzles more? How exactly did you use the AMMO engine grime? Did you put dots of it all over them, wait for them to dry a little and then blend them with the brush? I assume if you placed the AMMO and then cleaned it immediately, most of it would be gone (maybe that is the idea).
Thank you very much. I am very curious about your techniques.
Hi Janissary,
Delete-The pilot´s visor is painted black with acrylic paint and a pointy brush, and varnished gloss with the airbrush. After that you can polish it with a nail polisher to get a bit more of shine.
-No, I only re-scribed the lines were I used putty.
-The splotchy stains in fuel tanks, missiles, etc, even in the exhaust nozzels are made the same way. You have resumed perfectly. Of course you must wait some time to the solvent to dry before working the product.
First you apply small irregular spots of the weathering product of the color you want. Next you wait some time to the product dries a little (between one and five minutes, or so). Depending on the time you wait the product will remove more or less easily, it depends on the effect you want to imitate. Then you can blend and retouch the shape of the spots with a brush, dry or slightly wet in enamel thinner. This also depends on the effect you want. Finally you can wait for the product to dry enough (about 5 minutes) and then blend the spots a little more if you want by brushing with a dry and clean brush.
These weathering products are really easy to use but it need some practice, as everything else. It is a good idea to make some tests changing the time you wait before brush the product, the amount of enamel thinner in the brush, etc. You get the trick very quickly.
Hope it helps.
Q
Thank you very much Diego. It is very helpful. Why don't you post this on ARC or Z5? Your builds would blow people's minds away. You are very talented and your techniques would be very educational for everybody else. I lover you builds. Your photography is also top notch. How long did it take you to finish this model?
ReplyDeleteThanks for your words, pal.
DeleteI think I posted this photos in ARC (not completely sure).
I spent four months or so with this model, the assembly was a little harder than I spected.
This comment has been removed by the author.
ReplyDelete*nice work
DeleteThanks a lot! I also love your models! :)
DeleteFantastic model Diego! Do you ever come to the show in Leganes? Or do you attend other shows in Spain?
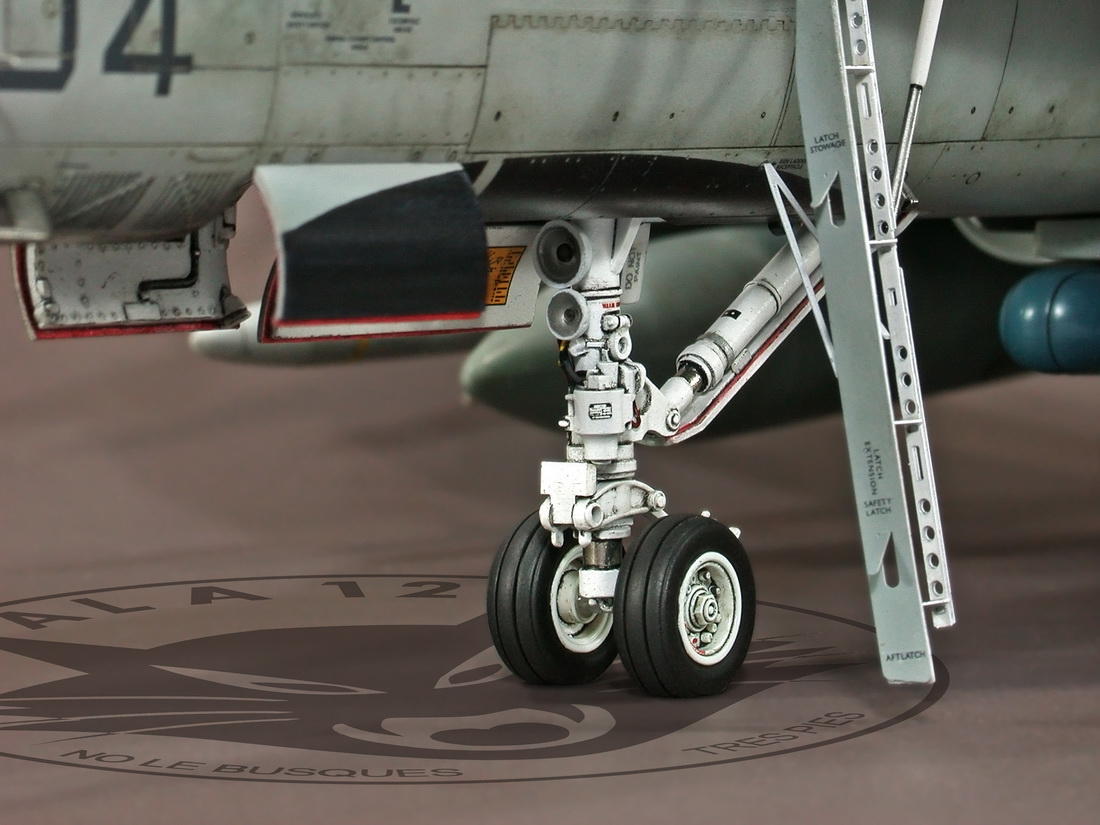
ReplyDeleteHave you used the Aires resin landing gear bays (wheel wells) for the Hasegawa legacy Hornet?
Hi Pete, I don´t go to model shows lately.
DeleteAbout the wheel wells, no, I have never used that Aires set. The only Aires set I have ever used, as far as I remember, is for the Harrier AV-8B 1/48.